How to Start XAMPP in Ubuntu Using the Command Line
Setting up a local web development environment is crucial for web developers and enthusiasts. XAMPP is a popular tool that provides a comprehensive solution for running Apache, MySQL, PHP, and Perl on your local machine. This article will guide you through the process of starting XAMPP in Ubuntu using the command line. By following these instructions, you'll be able to launch XAMPP smoothly and begin building and testing your web applications with ease.
How to Start XAMPP in Ubuntu Using the Command Line?
To start XAMPP in Ubuntu, follow these steps:
Step 1: Open the Terminal
The Terminal is a command-line interface that allows you to execute commands on your Ubuntu system. To open the Terminal, press Ctrl+Alt+T or search for Terminal in the application launcher.
Step 2: Navigate to the XAMPP Installation Directory
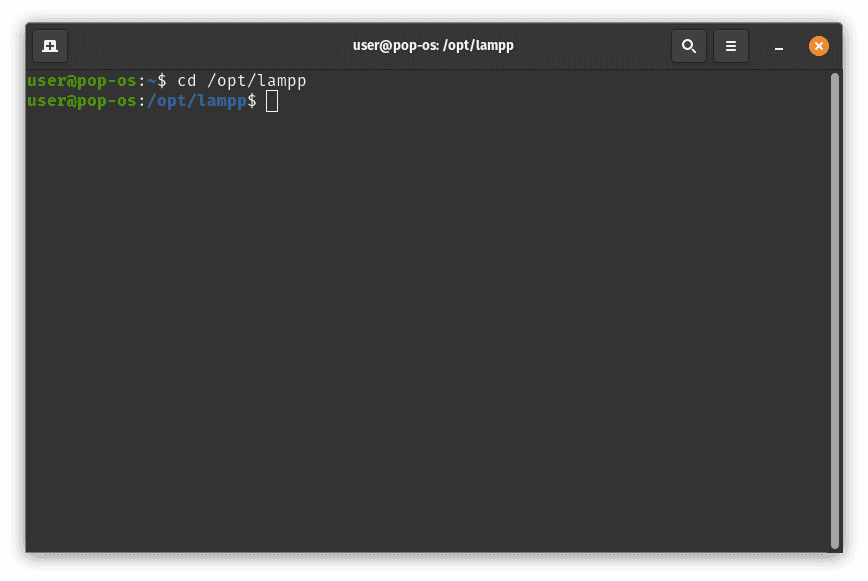
Once the Terminal is open, navigate to the XAMPP installation directory using the following command:
cd /opt/lampp

The default installation directory for XAMPP in Ubuntu is /opt/lampp.
Step 3: Start XAMPP
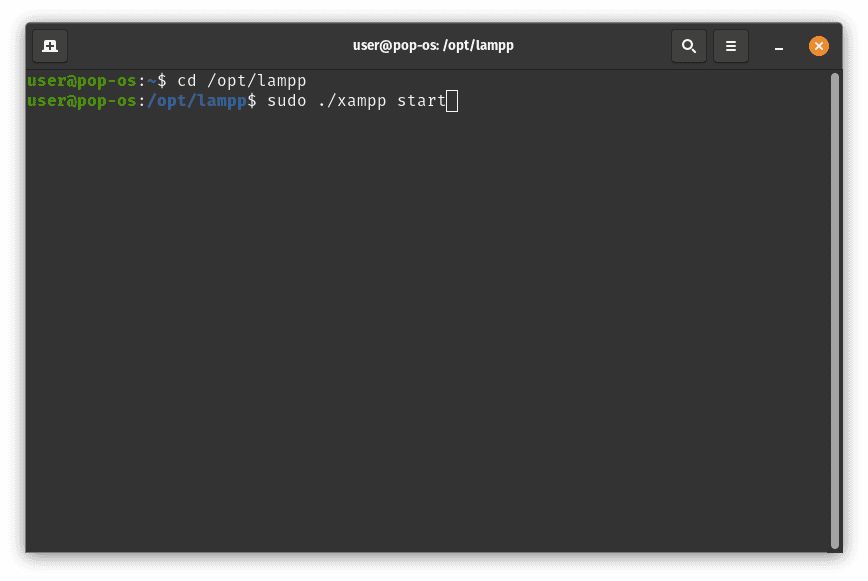
To start XAMPP, run the following command in the Terminal:
sudo ./xampp start

Using sudo ensures that the XAMPP start script runs with administrative privileges, allowing the necessary services to launch successfully.
Step 4: Enter Your Password
When prompted, enter your user password to authenticate the sudo command. After successful authentication, XAMPP will start, and services such as Apache and MySQL will be initiated.

Step 5: Verify XAMPP is Running
To confirm that XAMPP is running correctly, open a web browser and visit either http://localhost or http://127.0.0.1. If XAMPP is successfully running, you will see the XAMPP welcome page.
Congratulations! You have successfully started XAMPP in Ubuntu using the command line. Now, you can begin working on your web projects and leverage the power of XAMPP's local development environment.


